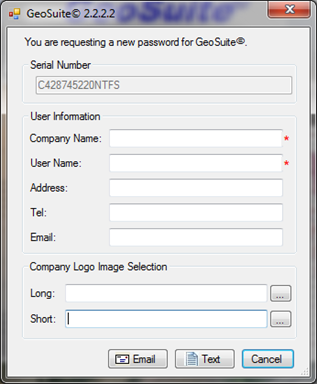
GeoSuite© Installation steps:Installation: 1.If you receive a zip file, unzip it using any zipping program 2.Double click GeoSuite© *.*.*.*_Setup.exe 3.Follow the steps for installation First time Run: After installation, the following dialog box will pop up at the first time run of GeoSuite©.
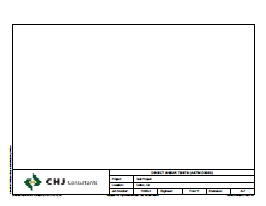
Input user information in the dialog. You can customize GeoSuite© output to include your company logo. If your company logo is of different version, you can choose wider logo image (Long) for Landscape output or narrow (Short) logo image for Portrait output (see sample images below).
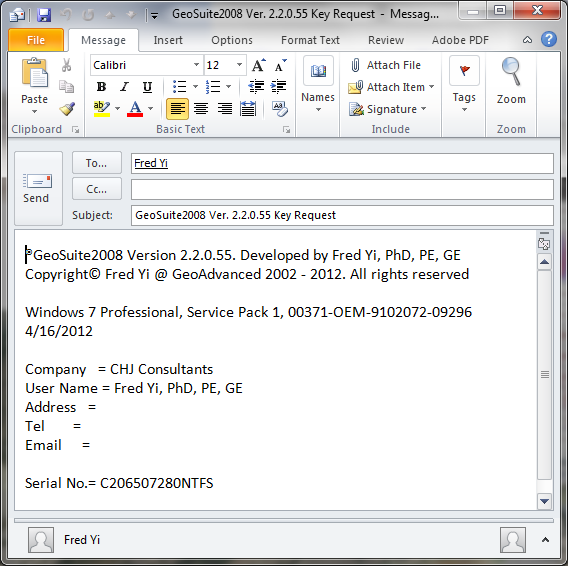
1. If you use Microsoft Outlook as your email program, click
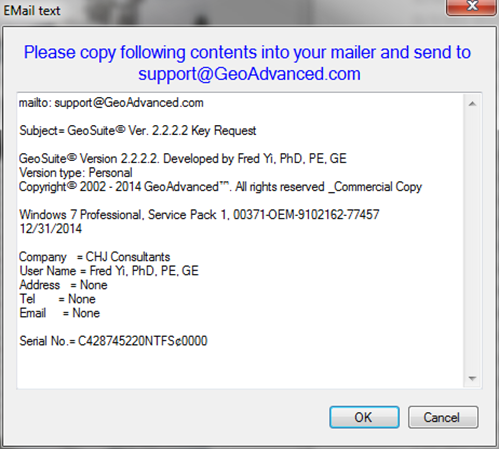
Automatically generated email for Microsoft Outlook 2. If you use other email program or internet browser, click
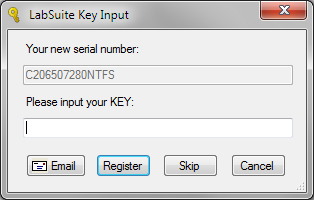
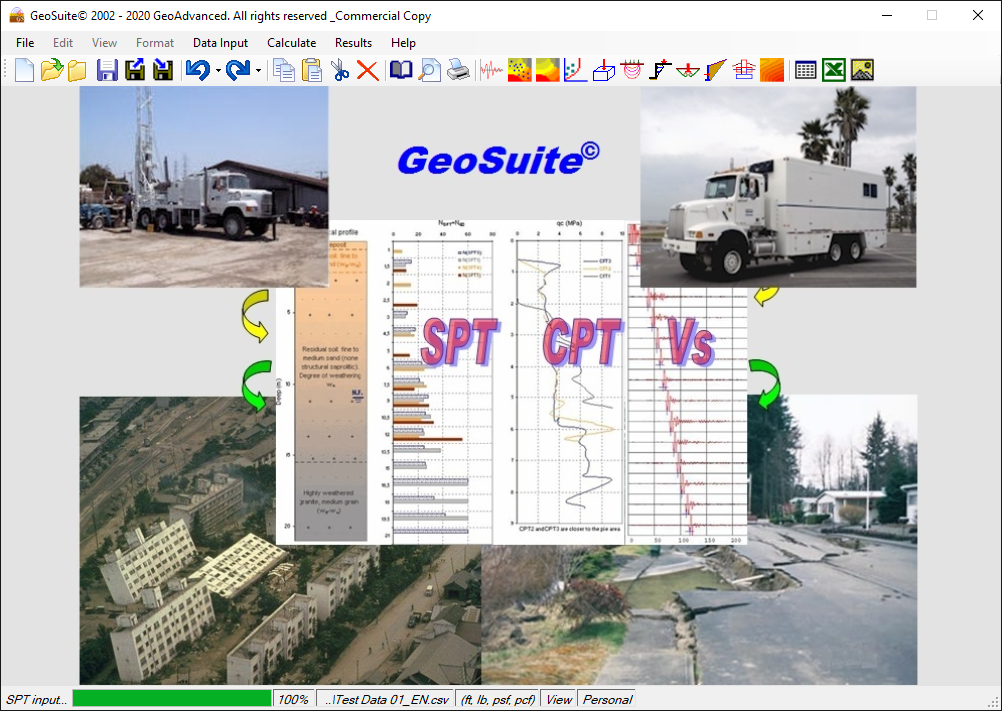
Automatically generated text email contents Send this email to request your key. GeoSuite© program will be closed automatically. 3. If you have evaluation version installed in your computer, user information dialog (Figure 1) may not show up. If you get initial screen as shown in Figure 6, click "Help" → "Request New Password". User information dialog will pop up. After receiving your key, run GeoSuite© again. Copy the Key code and paste in the following dialog box.
Then click
GeoSuite© is running now. For unlicensed user, you can click |